
Installing MailHog On Windows As A Service
I installed an SMTP server as a service because I didn't want to start it every time I needed it.


MailHog is a standalone executable file that I personally use as a local SMTP server to test email notifications being sent from Laravel application I work on. Services like Mailtrap and the like does work just fine, but having the SMTP server on my local machine brings me one step closer to having my whole development environment offline-ready.
Installing MailHog as a service.
NSSM to the rescue. The Non-Sucking Service Manager for Windows. You can install pretty much any application as a service. Its an old application, but trust me, its the best one around.
I only know how to use NSSM on the command line so lets go.
Go into the directory where you downlaoded the NSSM.exe file and run the follwoing command.
.\nssm.exe install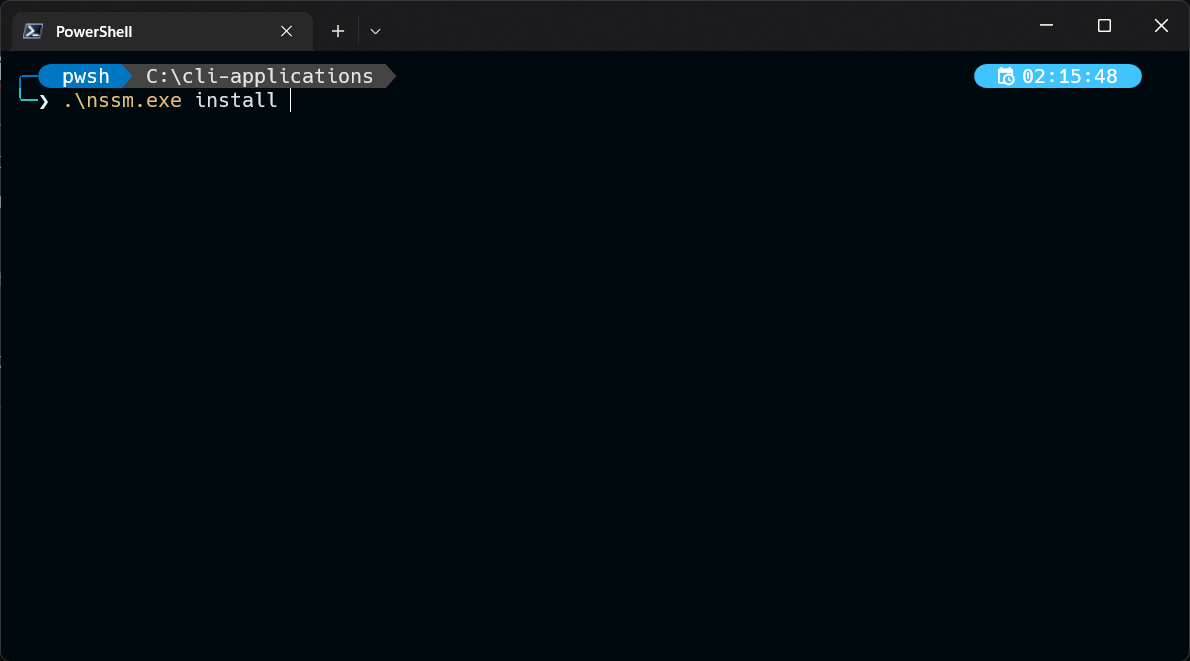
That should prompt Windows UAC to allow the program to be run as administrator, and you should get a little GUI like this...
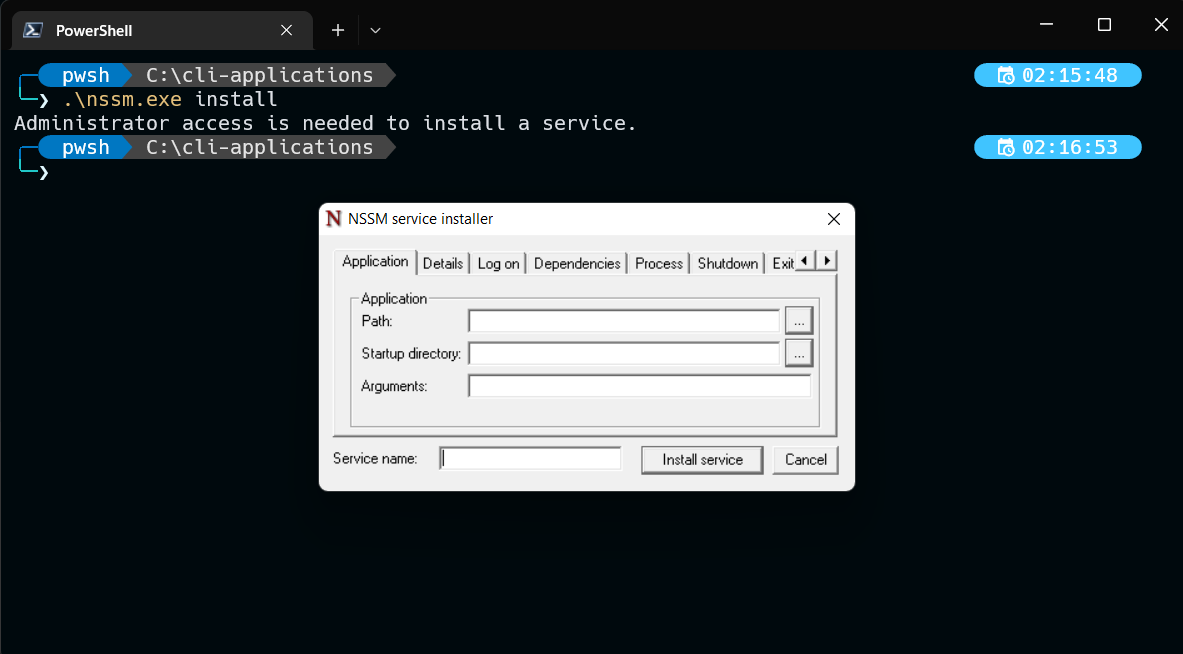
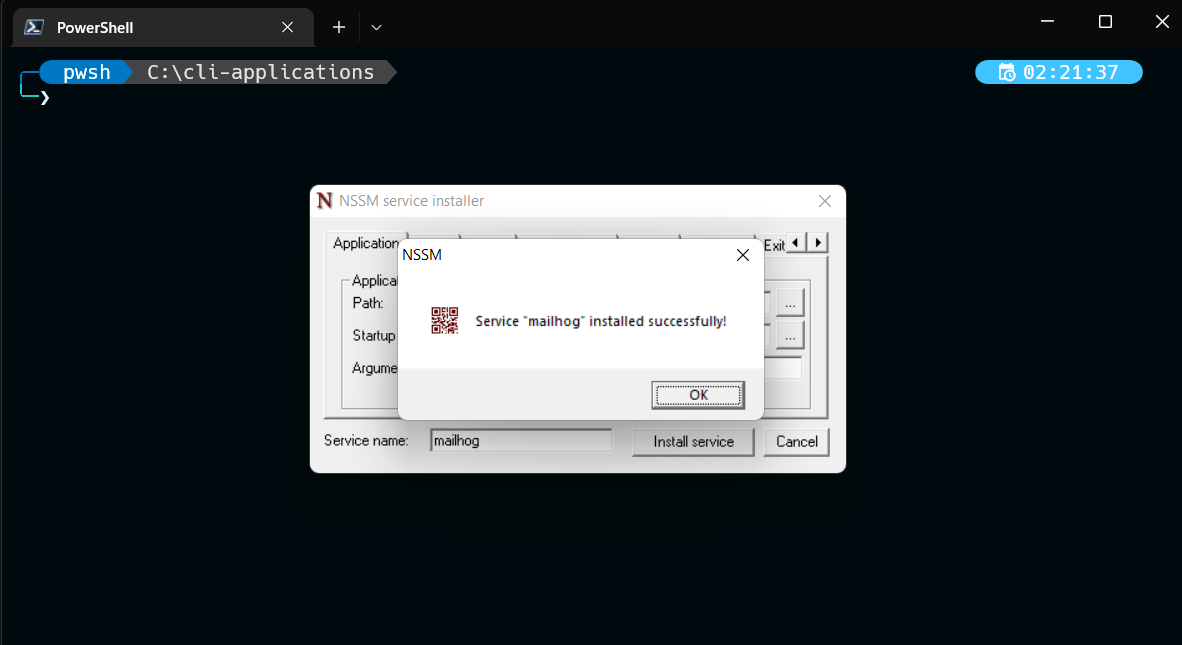
Configuring MailHog to run as a service is super easy. All you have to do it give the path of the mailhog.exe, set a nice name and just press the "Install service" button.

Now that you have the service installed, you have to start it. And that is also pretty simple using a nssm.exe command.
.\nssm.exe start mailhog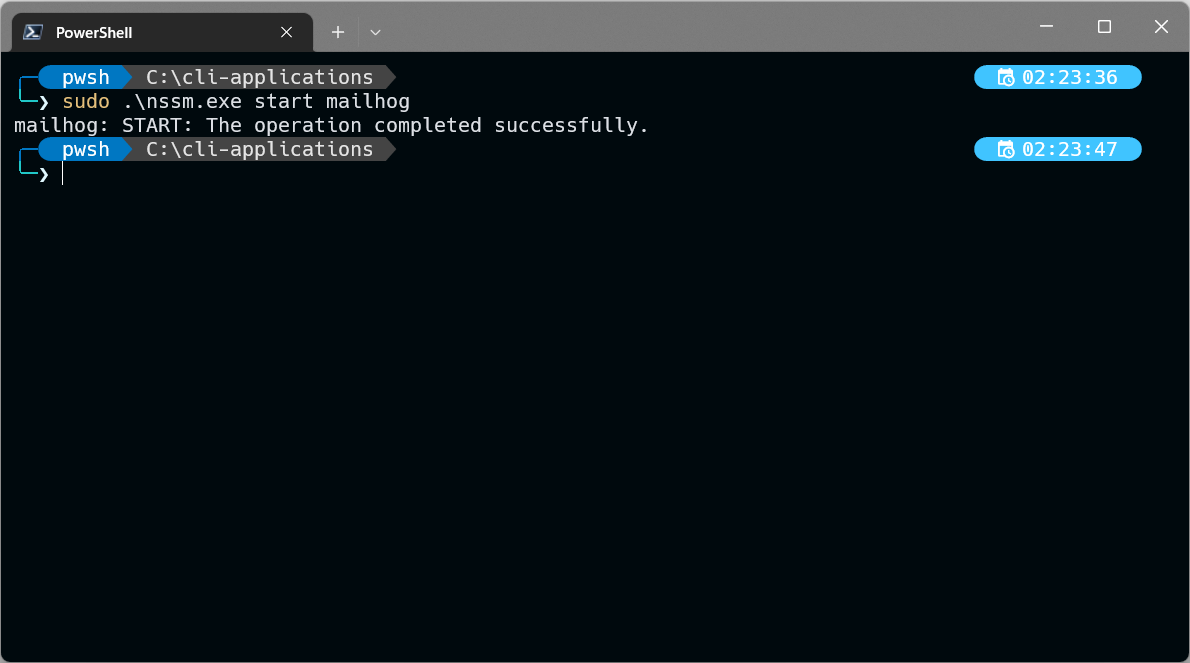
Now, I wrote sudo at the font of my command (I know its a command most common in linux OSs. Don't @ me). That's cause the command needs to be run as administrator, and the way I've set up my PowerShell lets me do that. But for you, you will need to open up a terminal as administrator for the command to work.
Congratulations. MailHog Is Installed As A Service.
Now if you head onto http://localhost:8025, you will see the MailHog gui already running.
Now, you can leave the tutorial right about now and call it a day, but we can take it one step futher.
Configuring A Memorable Host Address For MailHog
Like I said, I use MailHog to test emails that come from my Laravel applications. That being said, that also means I have a full WAMP setup (using Laragon) on my computer. You can add an Apache vhost config and proxy MailHog through Apache to get a nice hostname set on it.
First, you need to add a new line to your hosts file that will point the custom hostname back to the localhost.
Open the Windows Run dialog and run the following command to open the hosts file.
notepad c:\Windows\System32\Drivers\etc\hostsOnce you're there, add in this line to tell windows where to go when you go to mailhog.test.
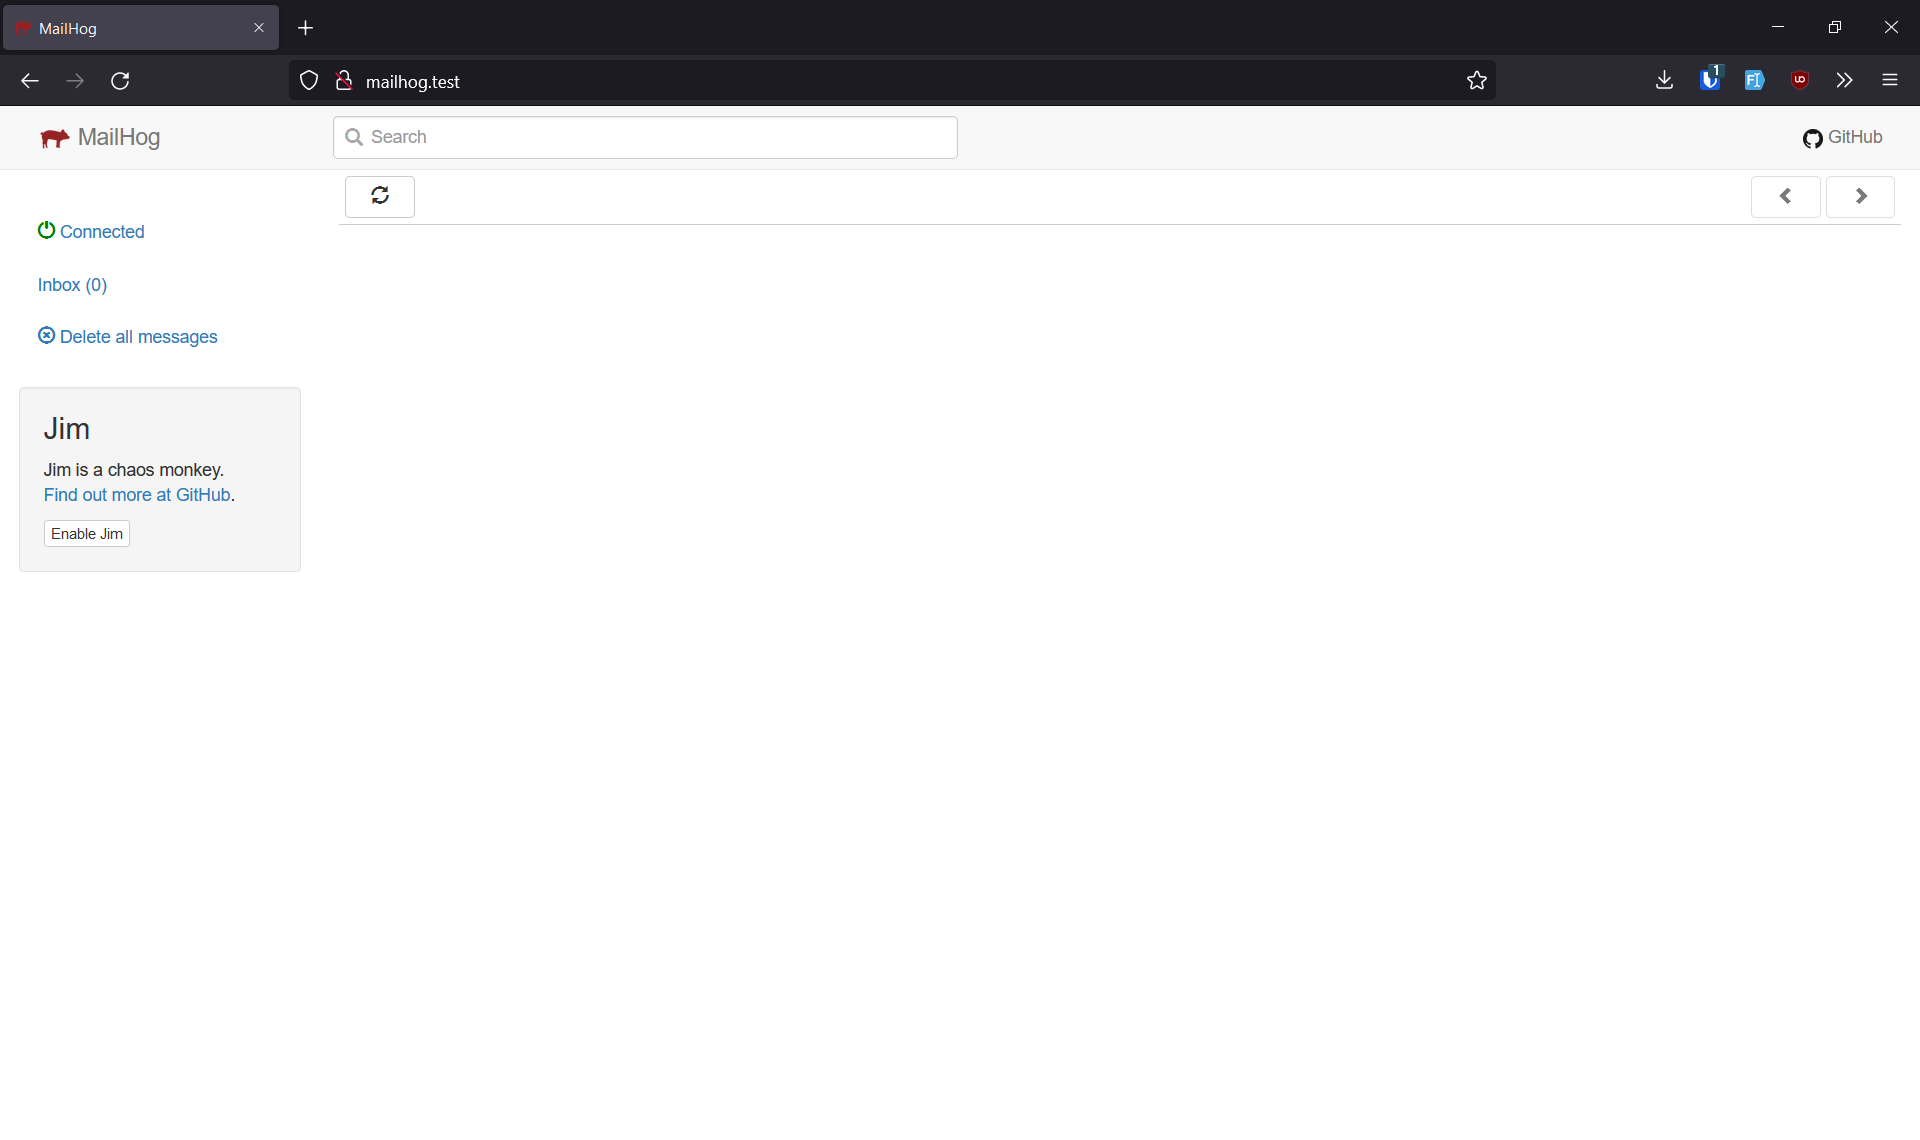
127.0.0.1 mailhog.testI chose "mailhog.test" to be my hostname cause it follows suite to the naming convention I use on my development environment.
Second, you will need to enable some Apache mods on your httpd.conf file. Find and enable these two lines by removing the comment from them. And if they are already enabled, then just continue on.
LoadModule proxy_balancer_module modules/mod_proxy_balancer.so
LoadModule proxy_http_module modules/mod_proxy_http.so
LoadModule rewrite_module modules/mod_rewrite.so
Here is the vhost configuration that enabled WebSocket connectivity that makes MailHog work the best.
<VirtualHost *:80>
	ServerName mailhog.test

    # Proxy config
    ProxyPreserveHost On
    ProxyRequests Off

    # Websocket proxy needs to be defined first
    ProxyPass "/api/v2/websocket" ws://localhost:8025/api/v2/websocket
    ProxyPassReverse "/api/v2/websocket" ws://localhost:8025/api/v2/websocket

    # General proxy
    ProxyPass / http://localhost:8025/
    ProxyPassReverse / http://localhost:8025/
</VirtualHost>
With all that done, just restart your Apache server and head onto mailhog.test to see it in action.
Fin.