
Take Back Control of Your Passwords
If you save your passwords in your browser's password manager, I'm sorry to tell you, omae wa mou shindeiru.


- New compose file for updated project name
What is Bitwarden?
Let me tell you about Bitwarden. Bitwarden is a simple, but effective password manager. This is one for users who like things to be straightforward and hassle-free - in life, and in password management.
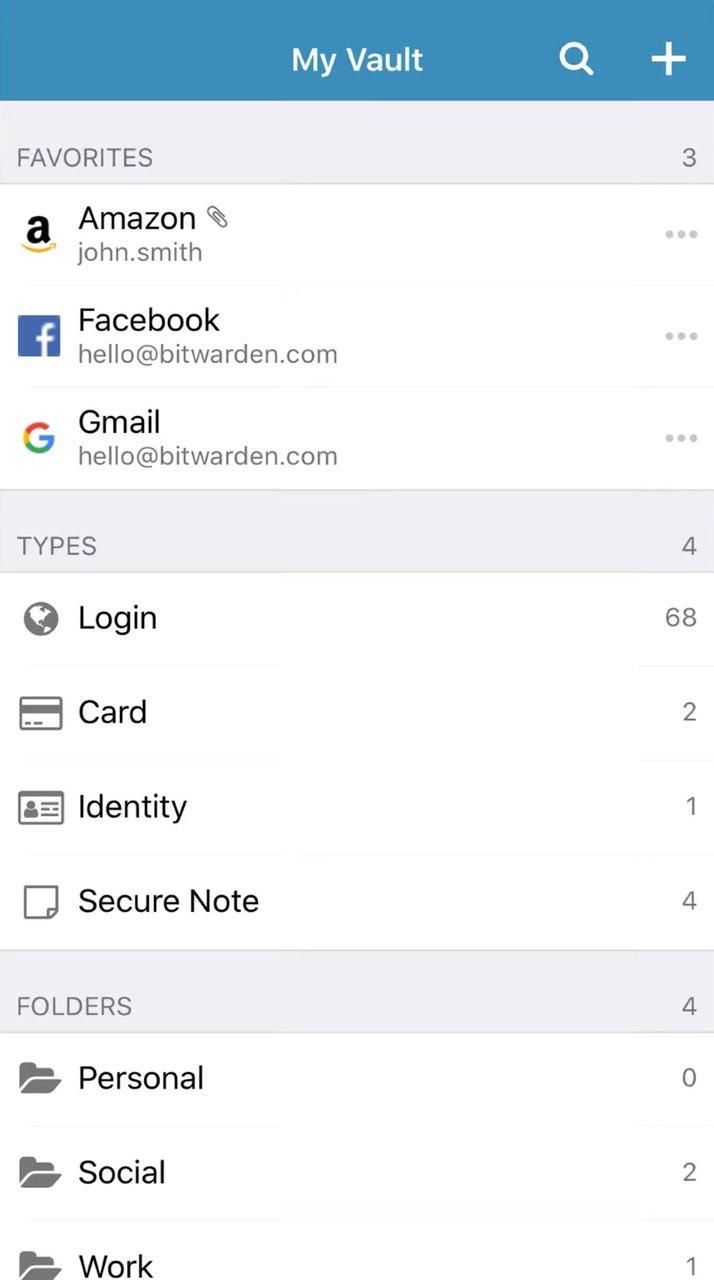
Bitwarden is open source and is continually being improved on and updated. New features are being added all the time. One update allowed users to store more than just passwords. As a result, you can also store credit cards (I personally wouldn't), secure notes and identity info (this too).
Bitwarden has desktop app versions, browser extensions and also Android and iOS apps. Its a techy software for techy people, so it's expected.
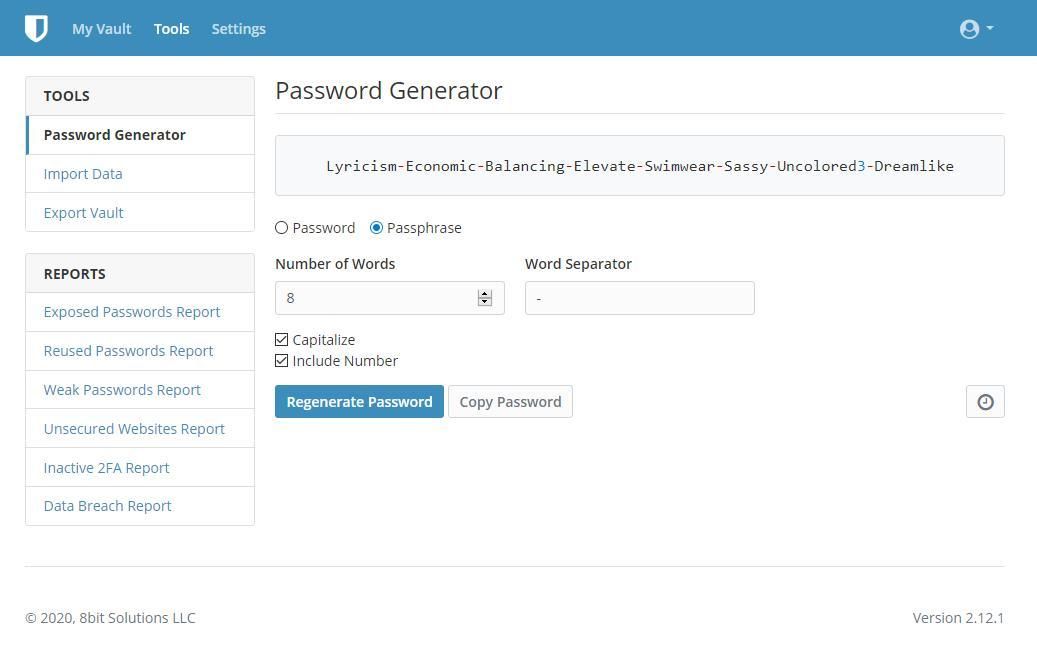
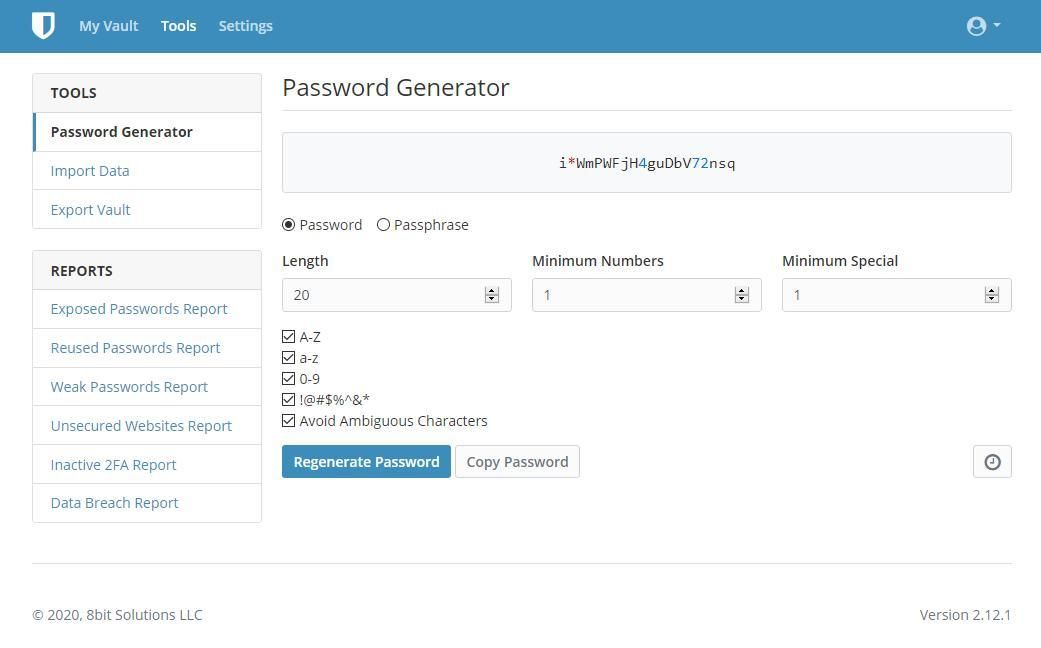
The Password Generator
If you are thinking "Is Bitwarden safe?", Bitwarden offers a good password generation tool. The tool allows users to set parameters for their preferred password and generate passwords from the rule set. Users can either do this as either a completely random sequence of numbers and letters, or they can choose to use a sequence of several words.
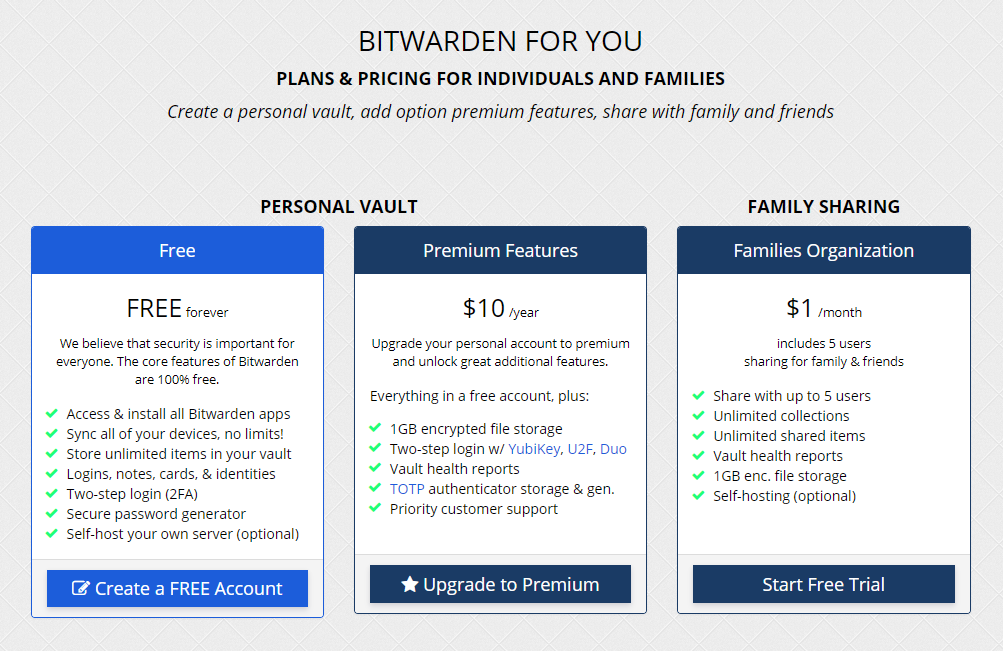
Alright great! How much is it?
Bitwarden is a SaaS application, meaning you have to subscribe to it. Thankfully, for users that want to try it out, they do have a free tier that gets you up and running.
This is where the purpose of this post come into play.
Self-hosting problems
The problem with self-hosting the official Bitwarden server is that the server isn't really written with small deployment in mind and requires running MS SQL server among other things, which is quite some over-engineering if you intend to use it for small company or a family & friends setup. This is why there are some community implementations of the API, but many of those are limited in the functionality, most notable the password sharing (organizations) part.
bitwarden_rs
Let me introduce you to vaultwarden which is Bitwarden API implementation written in Rust. It's very resource efficient implementation (uses about 10MB of RAM, close to no CPU) written by Daniel García. This gives you the full Bitwarden experience with no artificial limits or license required including password sharing.
I have this installed on my server and the resource usage is not even noticable. Maybe that's mostly cause I'm the only one using it. And not like I'm adding new passwords every day.
Aite Lets Install This
You're gonna need a few things.
- A server running Ubuntu 18.04 or later
- Nginx webserver
- Docker installed on that machine
- docker-compose installed on that machine
- A subdomain pointed to your server so that it can be easily accessible
Once you've got all that, make a file called docker-compose.yml in your home folder and add the following content. This will start up the bitwarden_rs server using Docker.
version: "3.6"

services:
  bitwarden:
    image: vaultwarden/server:alpine
    user: "1000:1000"
    restart: always
    ports:
      - "55555:80"
      - "55556:3012"
    volumes:
      - /home/sammy/bitwarden_rs/bw-data:/data
    environment:
      #- LOG_LEVEL=DEBUG
      - ICON_DOWNLOAD_TIMEOUT=300
      - ICON_CACHE_TTL=0
- WEBSOCKET_ENABLED=trueNow start the container using the command where you placed your docker-compose.yml file. In this case, it's just the home folder.
docker-compose up -dYou'll see that it will download all the components that are necessary for the container to run, and finally you will see a success message like this.

Now lets configure Nginx. Make a vhost file for your subdomain and the contents should look something like this.
server {
  listen 80;
  server_name bitwarden.example.com;

  location / {
    proxy_pass http://127.0.0.1:55555;
    proxy_set_header Host $host;
    proxy_set_header X-Real-IP $remote_addr;
    proxy_set_header X-Forwarded-For $proxy_add_x_forwarded_for;
    proxy_set_header X-Forwarded-Proto $scheme;
  }

  location /notifications/hub {
    proxy_pass http://127.0.0.1:55556;
    proxy_set_header Upgrade $http_upgrade;
    proxy_set_header Connection "upgrade";
  }

  location /notifications/hub/negotiate {
    proxy_pass http://127.0.0.1:55555;
  }

  # Optionally add extra authentication besides the AUTH_TOKEN
  # If you don't want this, leave this part out
  location /admin {
    proxy_set_header Host $host;
    proxy_set_header X-Real-IP $remote_addr;
    proxy_set_header X-Forwarded-For $proxy_add_x_forwarded_for;
    proxy_set_header X-Forwarded-Proto $scheme;
    proxy_pass http://127.0.0.1:55555;
  }

  # Allow large attachments
  client_max_body_size 64M;
}
Now symlink to your sites-enabled folder, restart Nginx and head on over to your configrued domain. Once you're there, you will need to register your account and you're done. You've successfully installed bitwarden_rs on your server, and now have a lightweight, self-hosted password manager.
We're Not Done Yet
As it's configured, anyone can go to your Bitwarden URL, register themselves and start using your password manager as their password manager too. This is ok if you want to allow friends and family to use it too, but if you don't want to share it with anyone else, you're gonna want to bring a few changes to your docker-compose.yml file.
version: "3.6"

services:
  bitwarden:
    image: vaultwarden/server:alpine
    user: "1000:1000"
    restart: always
    ports:
      - "55555:80"
      - "55556:3012"
    volumes:
      - /home/sammy/bitwarden_rs/bw-data:/data
    environment:
      #- LOG_LEVEL=DEBUG
      - ICON_DOWNLOAD_TIMEOUT=300
      - ICON_CACHE_TTL=0
      - WEBSOCKET_ENABLED=true
- SIGNUPS_ALLOWED=falseYou're gonna need to add two new environment variables called SIGNUPS_ALLOWED and INVITATIONS_ALLOWED so that nobody else can register to use your password manager. Bring these changes to your docker-compose.yml file and run the following command again.
docker-compose up -dWe're running the same command as before, and docker-compose will see that there are changes in the config and automatically redeploy with the new environment variables. Don't worry, you wont loose any files if you mapped your volumes just like the docker-compose.yml file already does.
FIN
Yeah that's it. Have fun with you new password manager.


